I was working on the post layout for this blog when I realised I’m using the same (efficient) tools for years, and it could be nice to share the knowledge :)
So, here goes nothing…
Image creation/edition
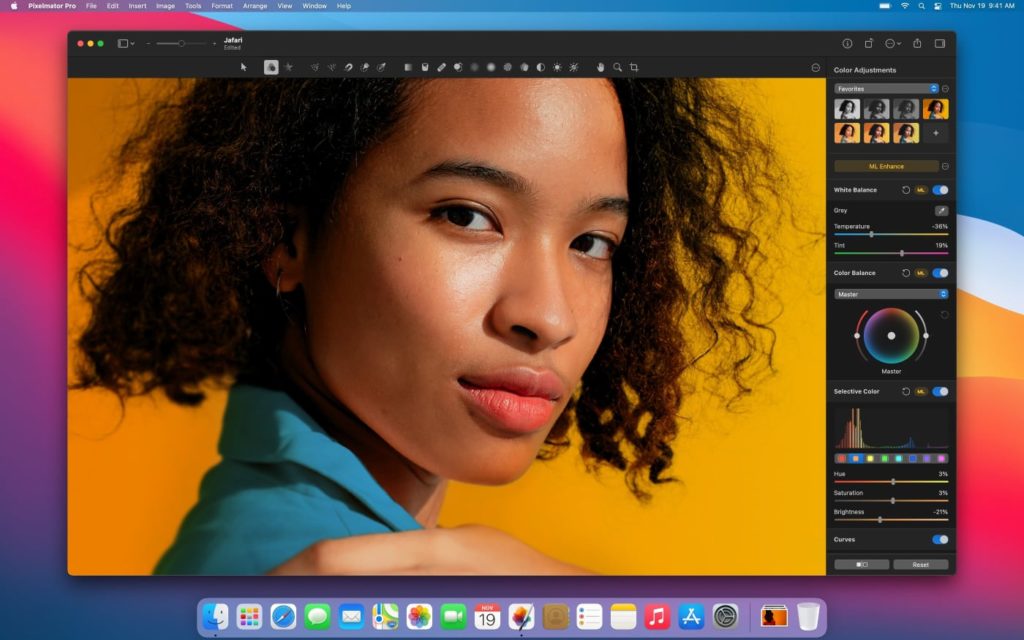
I know that Photoshop is a staple of web design, but I have my own favorite when it comes to quick works: Pixelmator Pro. It is extremely easy to use, has a sleek interface, with a short and smooth learning curve, and has a large set of specs for a moderate price. Pixelmator Pro is definitely worth a try!
(I don’t have any affiliation for Pixelmator Pro, I’m just enjoying it)

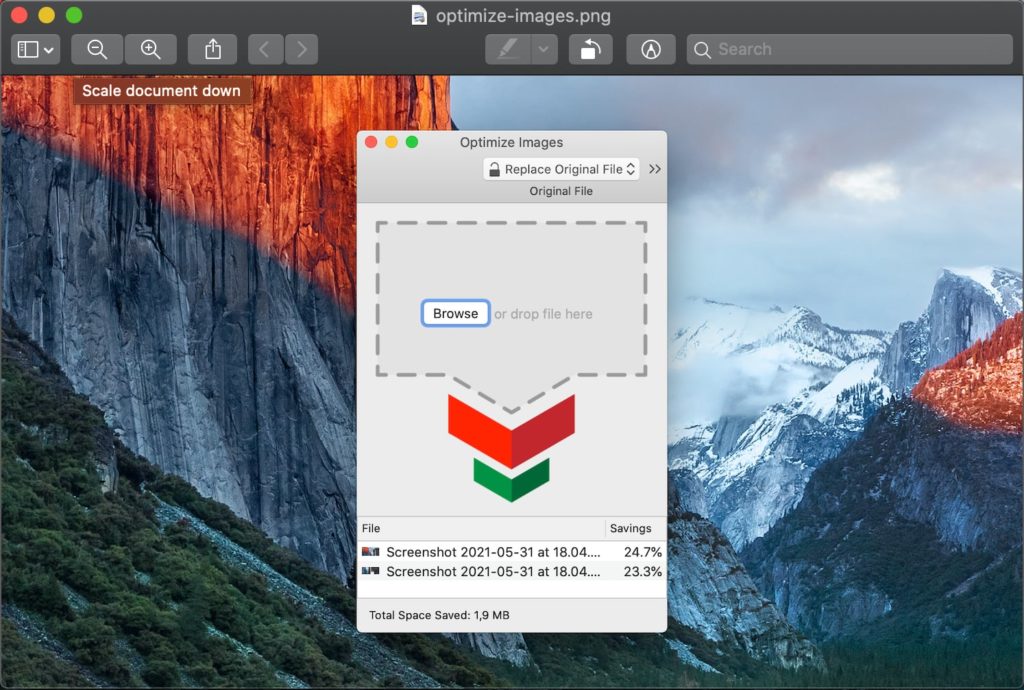
Also, as a Mac user, I’m using Preview a lot, but I have another trick up my sleeve: Optimize Images. A quick drag and drop and the magic happens: your images are nicely optimized. It works well for batch optimizations, and you can either replace the current image or create a new optimized one. Also, it’s a free tool and ad-free too!

Image Formats for Social Networks
Once you’ve created your beautiful image, it’s time to publish it on the modern internet… aka social networks. But, what size should it be? Is it okay if I cut it at 1024×512, or is it better to do 1200×630, or maybe 1920×1080?
Do not worry, I’ve got the perfect tool: Landscape by Sprout Social, drop your image in the box, then select where you want to use the images on the different social networks, et voilà, you get all your images in a nice folder, ready to use on the web.
If in doubt, don’t hesitate to have a look at an updated cheat sheet, for example, Social Media Image Sizes 2021: Cheat Sheet for Every Network from Hootsuite.

Bonus tip for WordPress Developers
If you don’t want to use yet another format for the featured Image on your posts, you can specify the size in the code like this:
the_post_thumbnail(array(1280, 720));
Nice and easy :) Have a look at the documentation here and there for more info.
I hope you found it useful, feel free to buy me a coffee (or tea) to support the blog 🙂

